Contributed by Iain McNeill
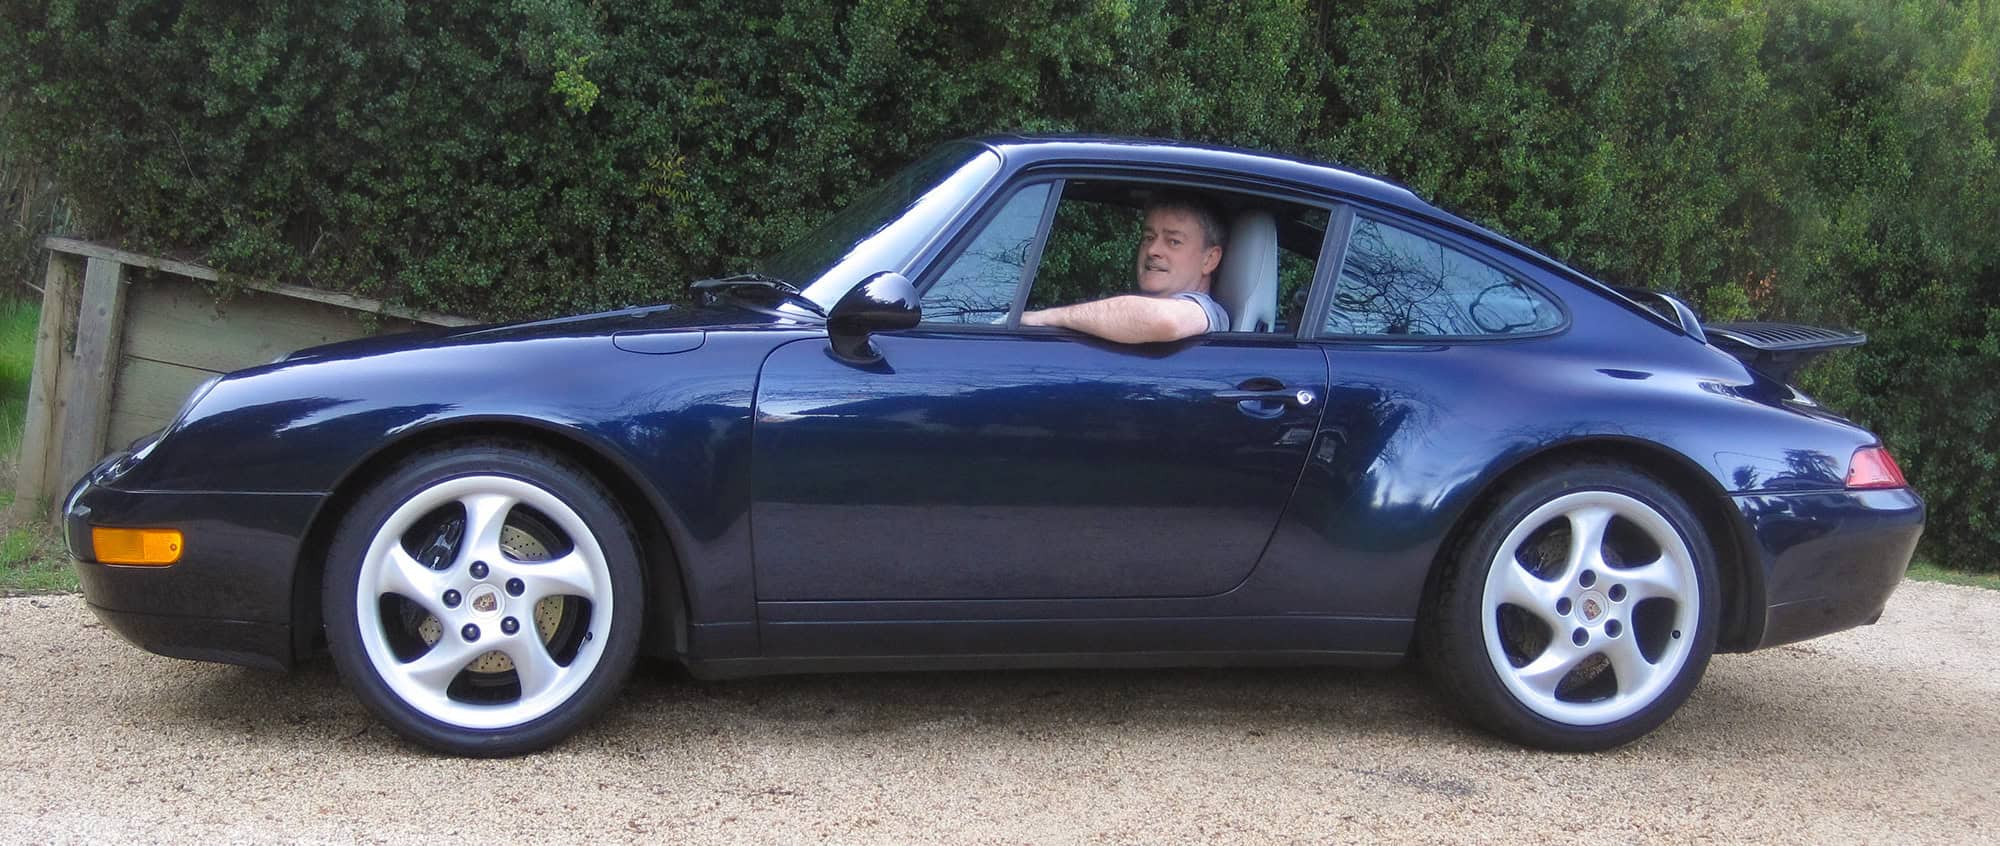
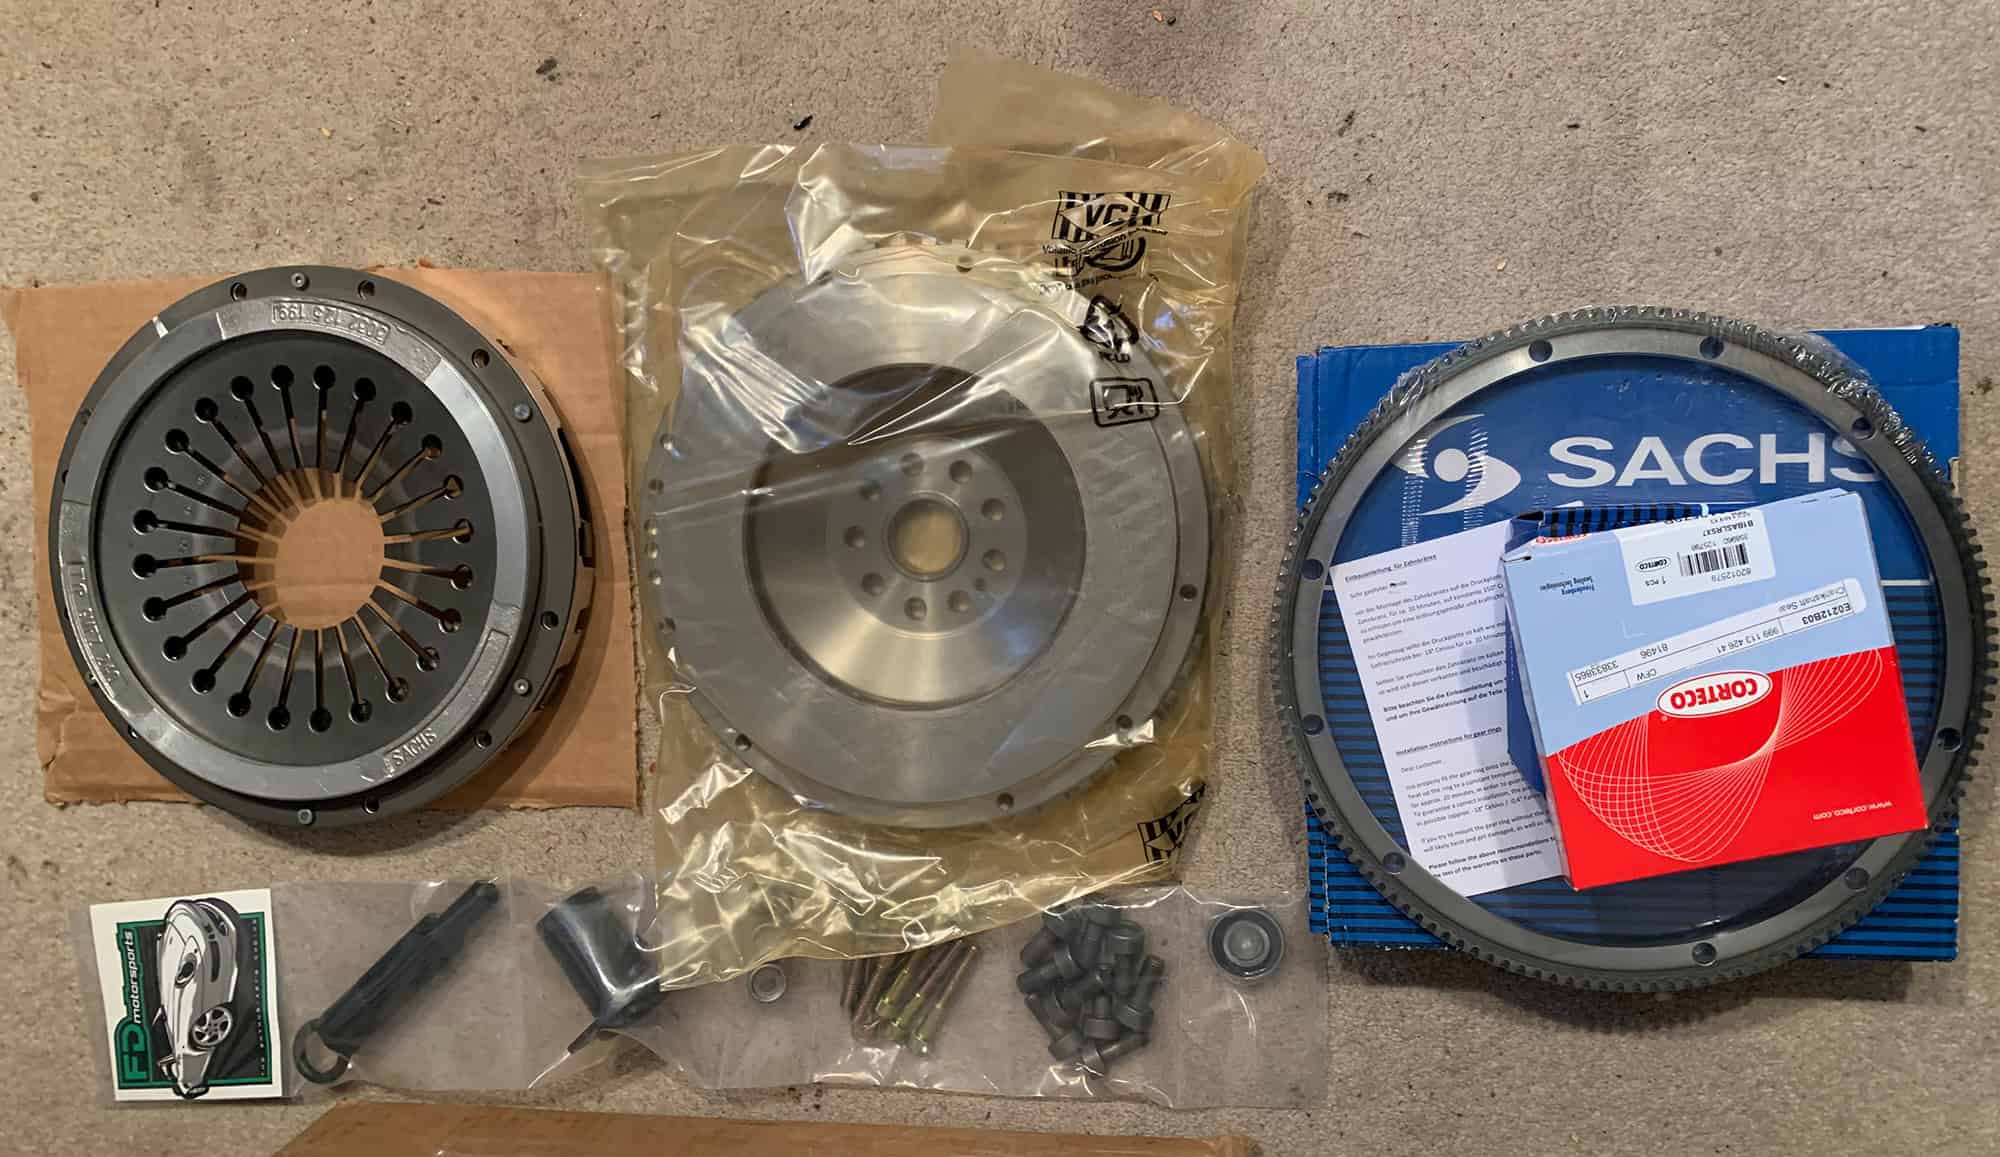
I bought my ’95 midnight blue 993 back in 2012 with 68k miles. Eight years and over 50k glorious miles later I decided that I couldn’t wait any longer for the clutch to fail. It was time to put on an RS light weight flywheel & clutch. I went with the RS flywheel and friction disk but retained the stock pressure plate because I wasn’t doing any engine power modifications. Honestly, I loved how the original clutch operated and didn’t want to mess with that feel. Here’s the kit:
Once it was all buttoned up it was time to get back to driving and the difference was immediately noticeable; revs went up and down faster, the low rev response in 1st and 2nd was significantly improved. I was able to see the difference in AX results as well so thumbs up to a great value performance modification.
While I really like the enhanced responsiveness for sporty driving (flywheel is 11lbs vs the 30lbs of the DMF), it has lost some of it’s GT appeal. I knew this was going to increase noise and vibration but there are so many new noises now that I’m starting to second guess my work and wonder if I maybe missed an important step in the installation process. Did I mess up? I was expecting the “can of marbles” sound in neutral at idle and later found references to a “death rattle” as the car accelerates through 2000 rpm but I wasn’t expecting the rawness of it all at higher revs in all gears. Some of the noises just didn’t sound good to me.
I’m a regular guy, I want the best of both worlds all the time so I started trolling the internet for wisdom and found some discussion about having to dynamically balance the flywheel and PP. Some folk reported upwards of 50g of imbalance on the Sachs pressure plates but they didn’t specify their distance from axis for reference (25mm seems to be one “standard”) so it’s hard to gauge exactly how bad that is. You’d think, in relation to the mass of the flywheel (5.5kg) and crankshaft (even more kg), it would be insignificant but then again, this IS a finely tuned, precision German machine. Let’s keep an open mind here.
Looking in the manuals, I could find no mention of machining the flywheel and pressure plate for balance or special requirements for alignment/concentricity. I called the shop that sold me the kit and the owner confirmed these parts were plug and play.
Now I’m thinking I need to put the old clutch back in to see if it all gets better. I pulled the old DMF out (yes, I kept it) to see if it could be used while the LWFW was out for balancing. It could be weeks with shipping and I can’t tie up space, On inspection the flywheel looks quite serviceable for street conditions. There doesn’t seem to be any rock or excessive rotational play between the 2 masses.
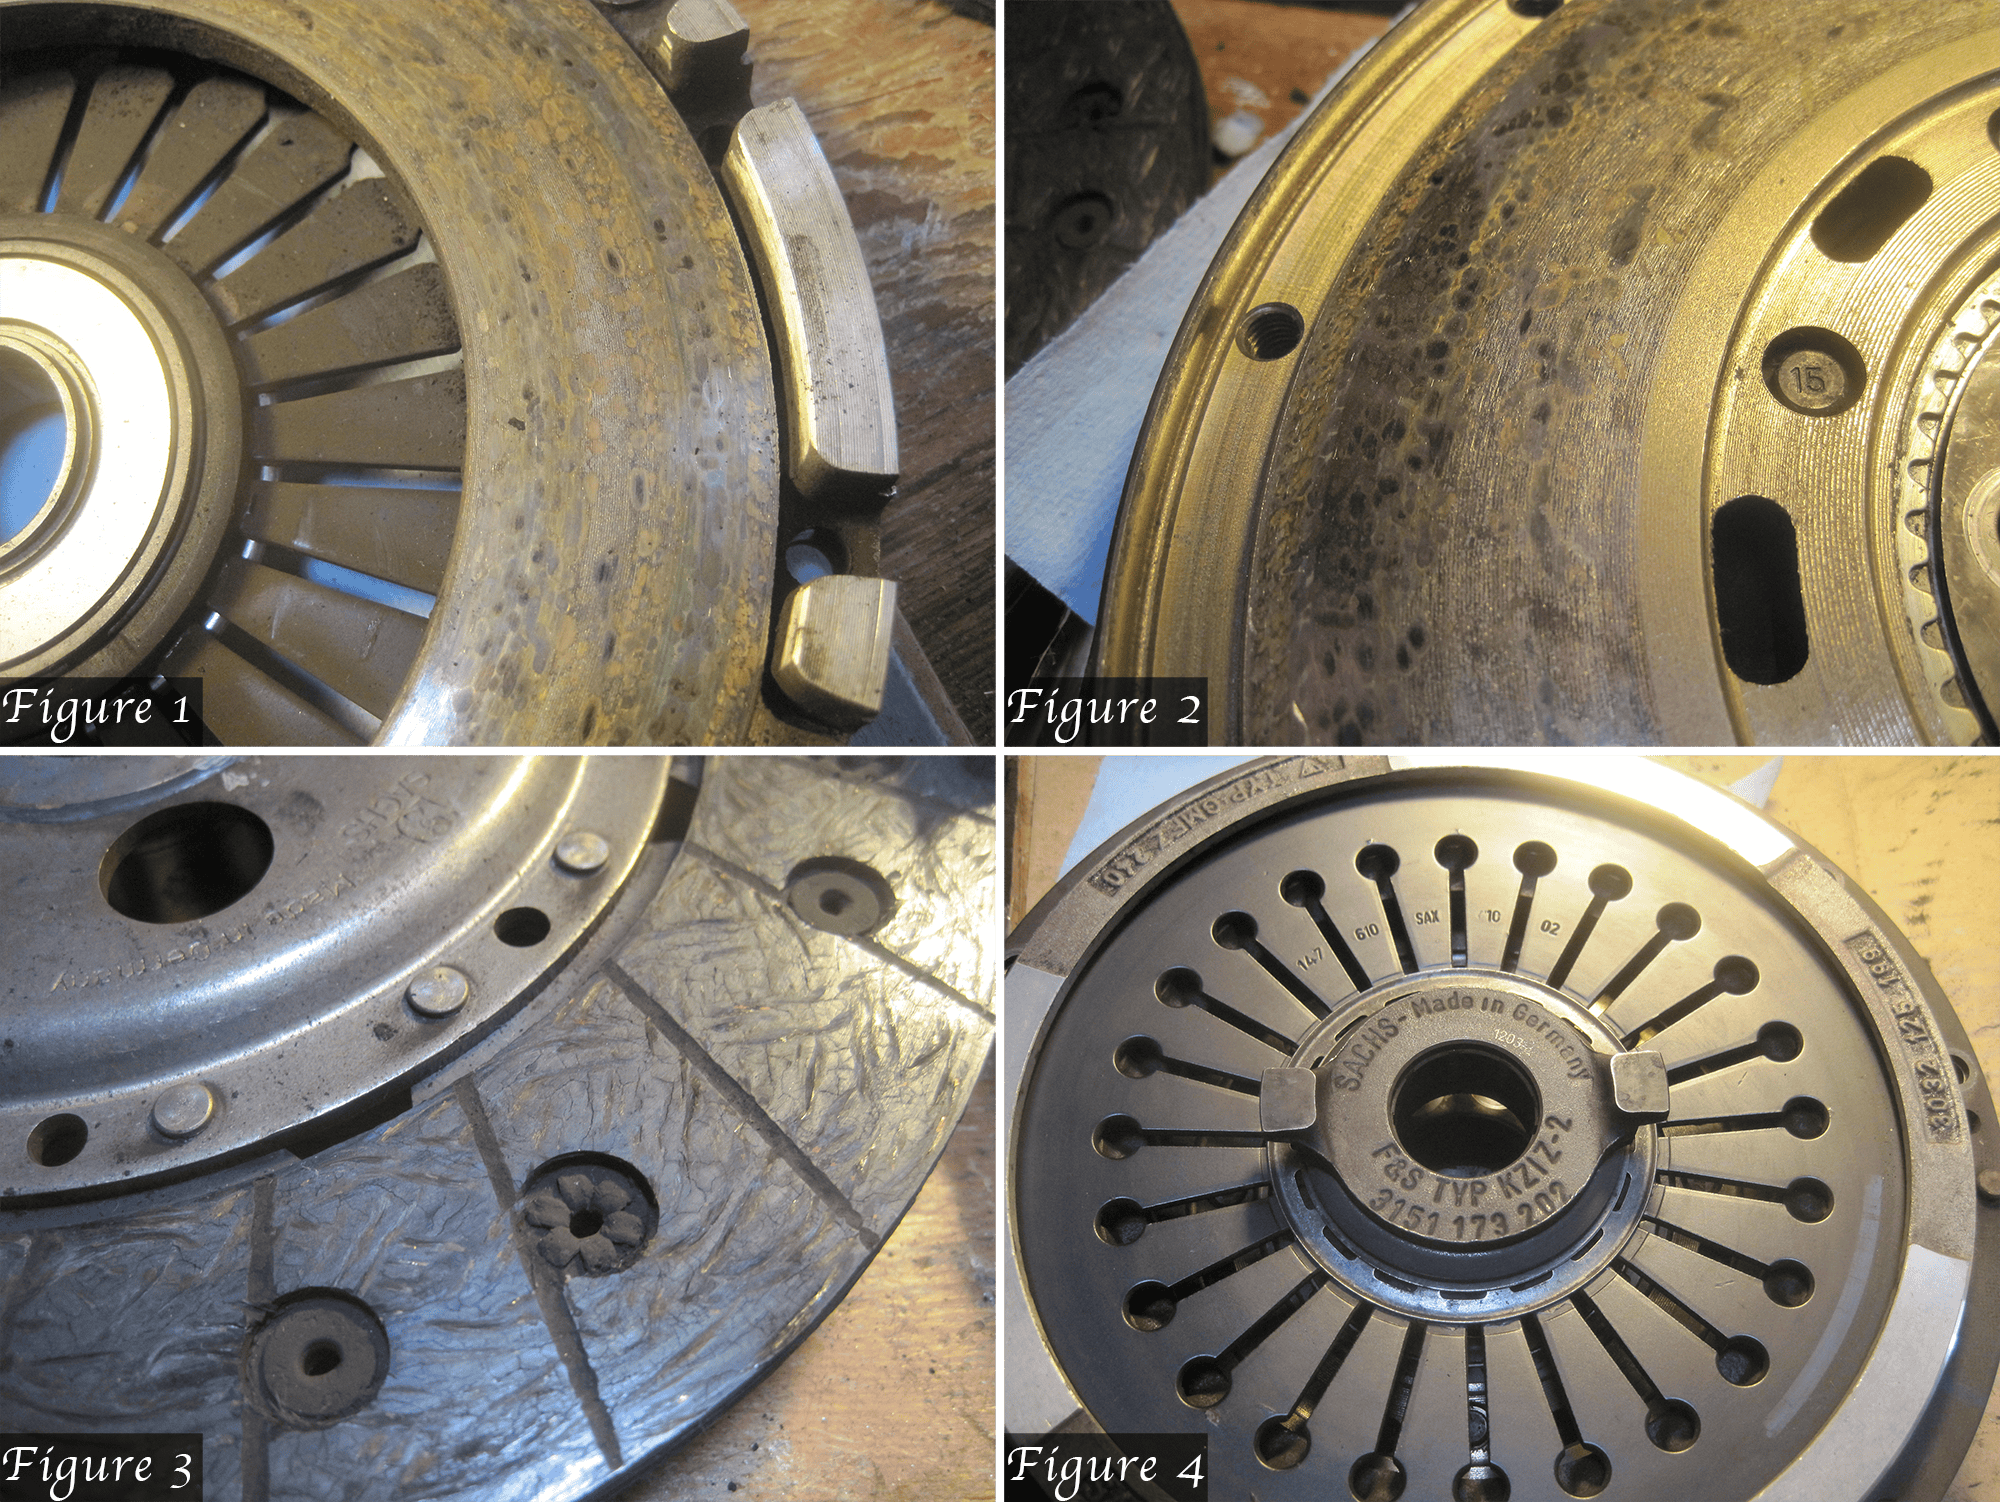
Figure 1: The pressure plate clutch surfaces show only moderate overheating (not blue, just speckled).
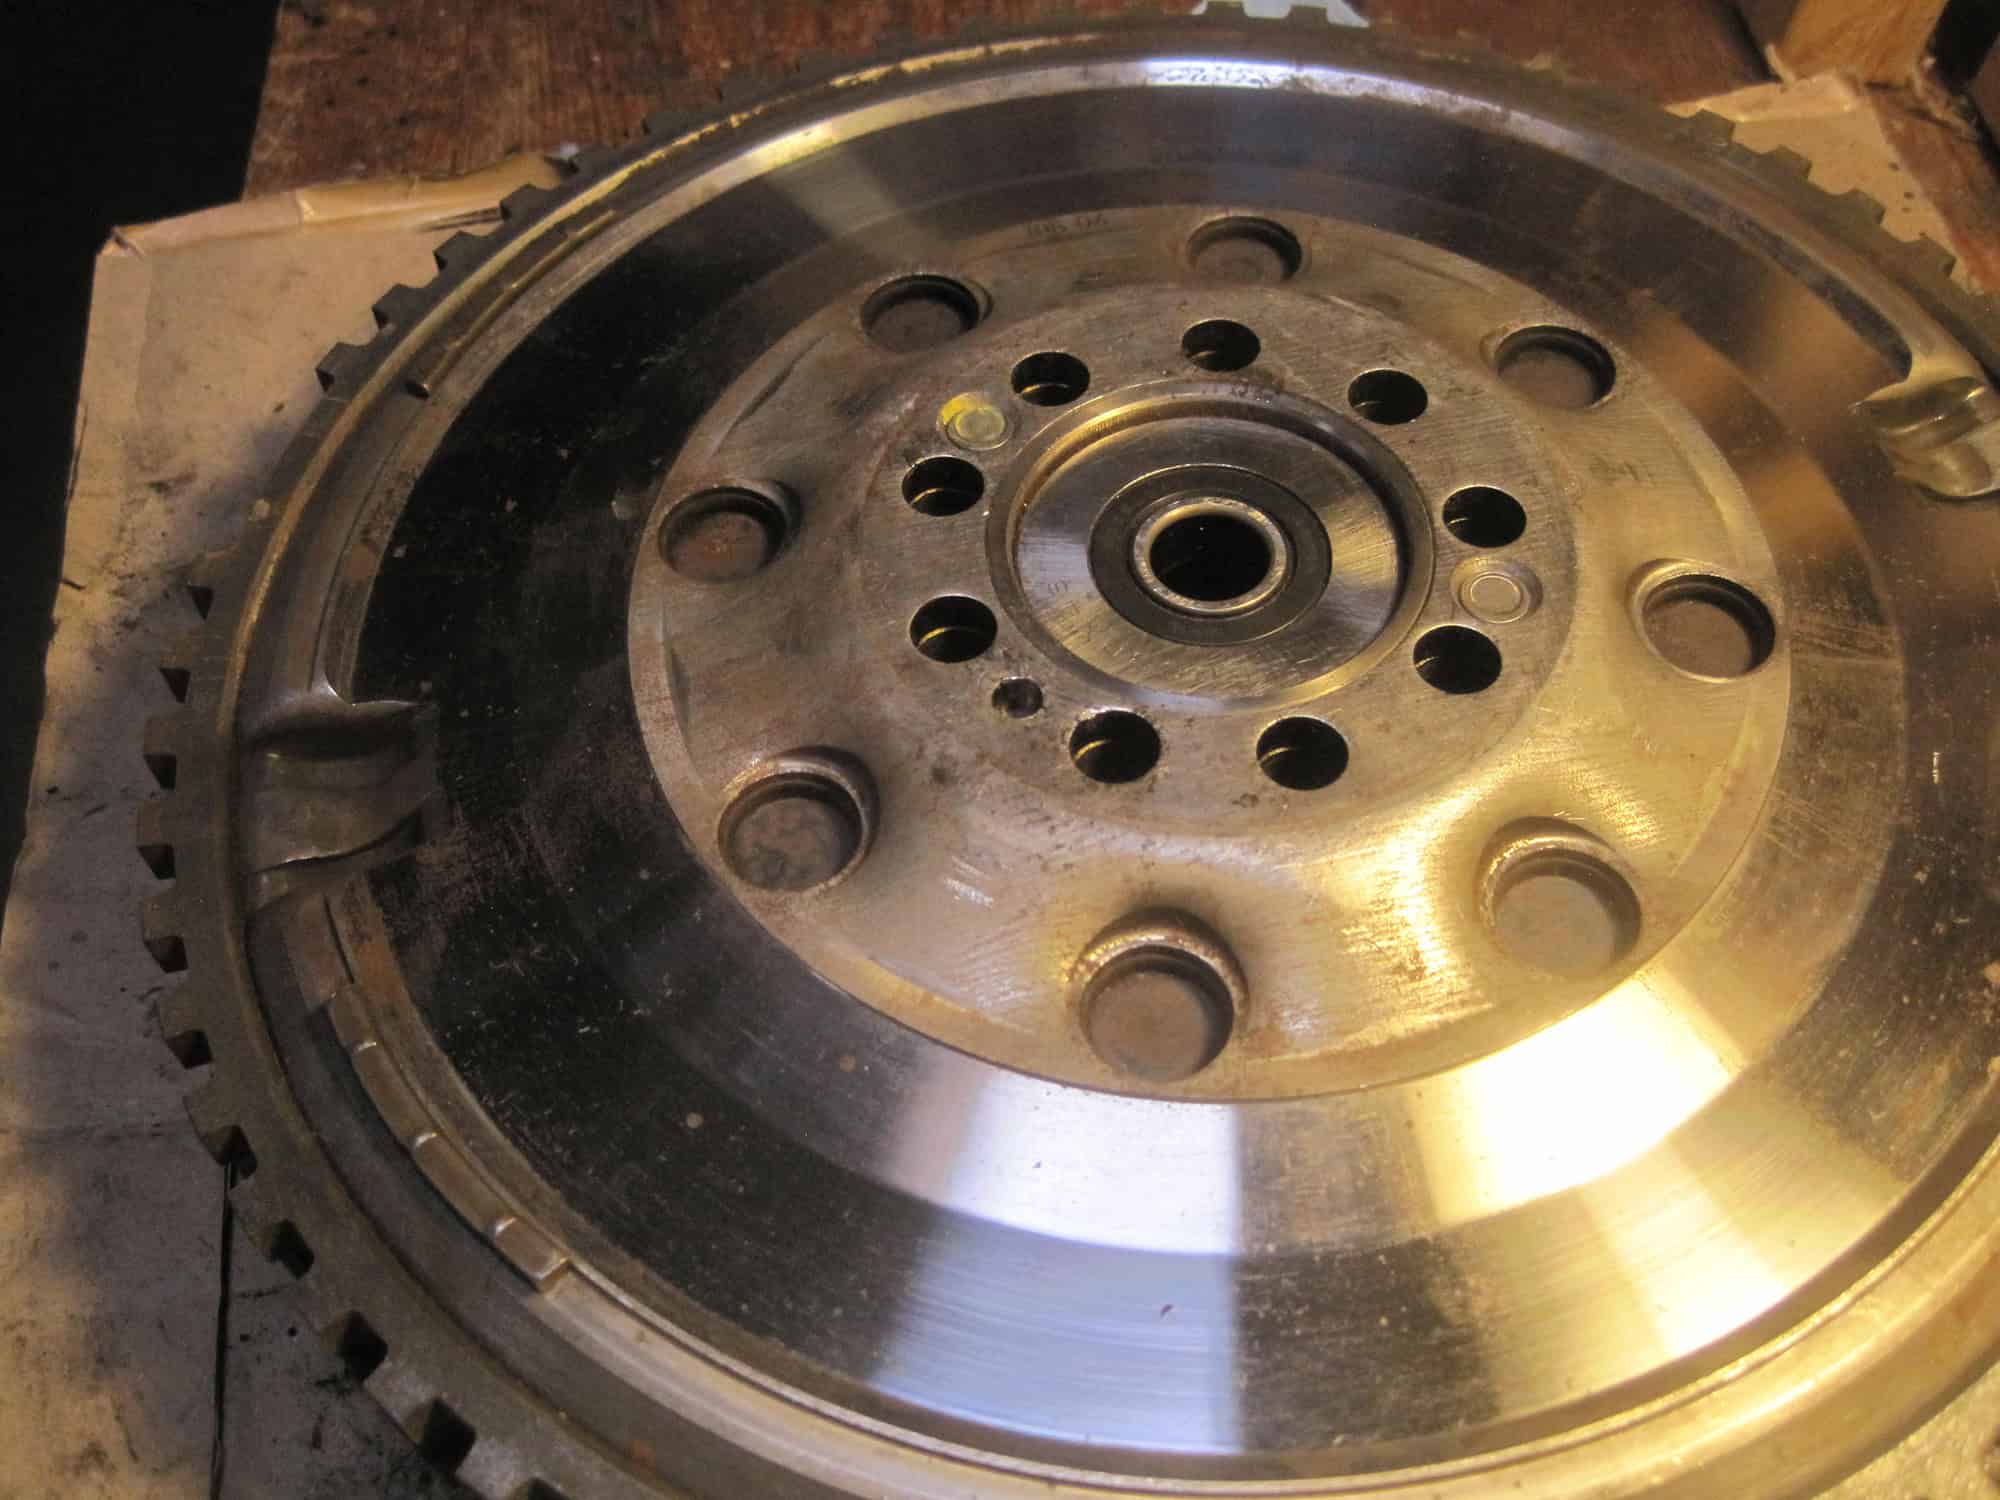
Figure 2: No ridge on the flywheel surface. I’d say this looks good for further duty (new pilot, TO bearing and PP, crank bolts – of course).
Figure 3: The friction disk, however, was 0.005” to the top of the rivets. Wear limit is 0.012” so this one is well spent! Looks like I got it just in time.
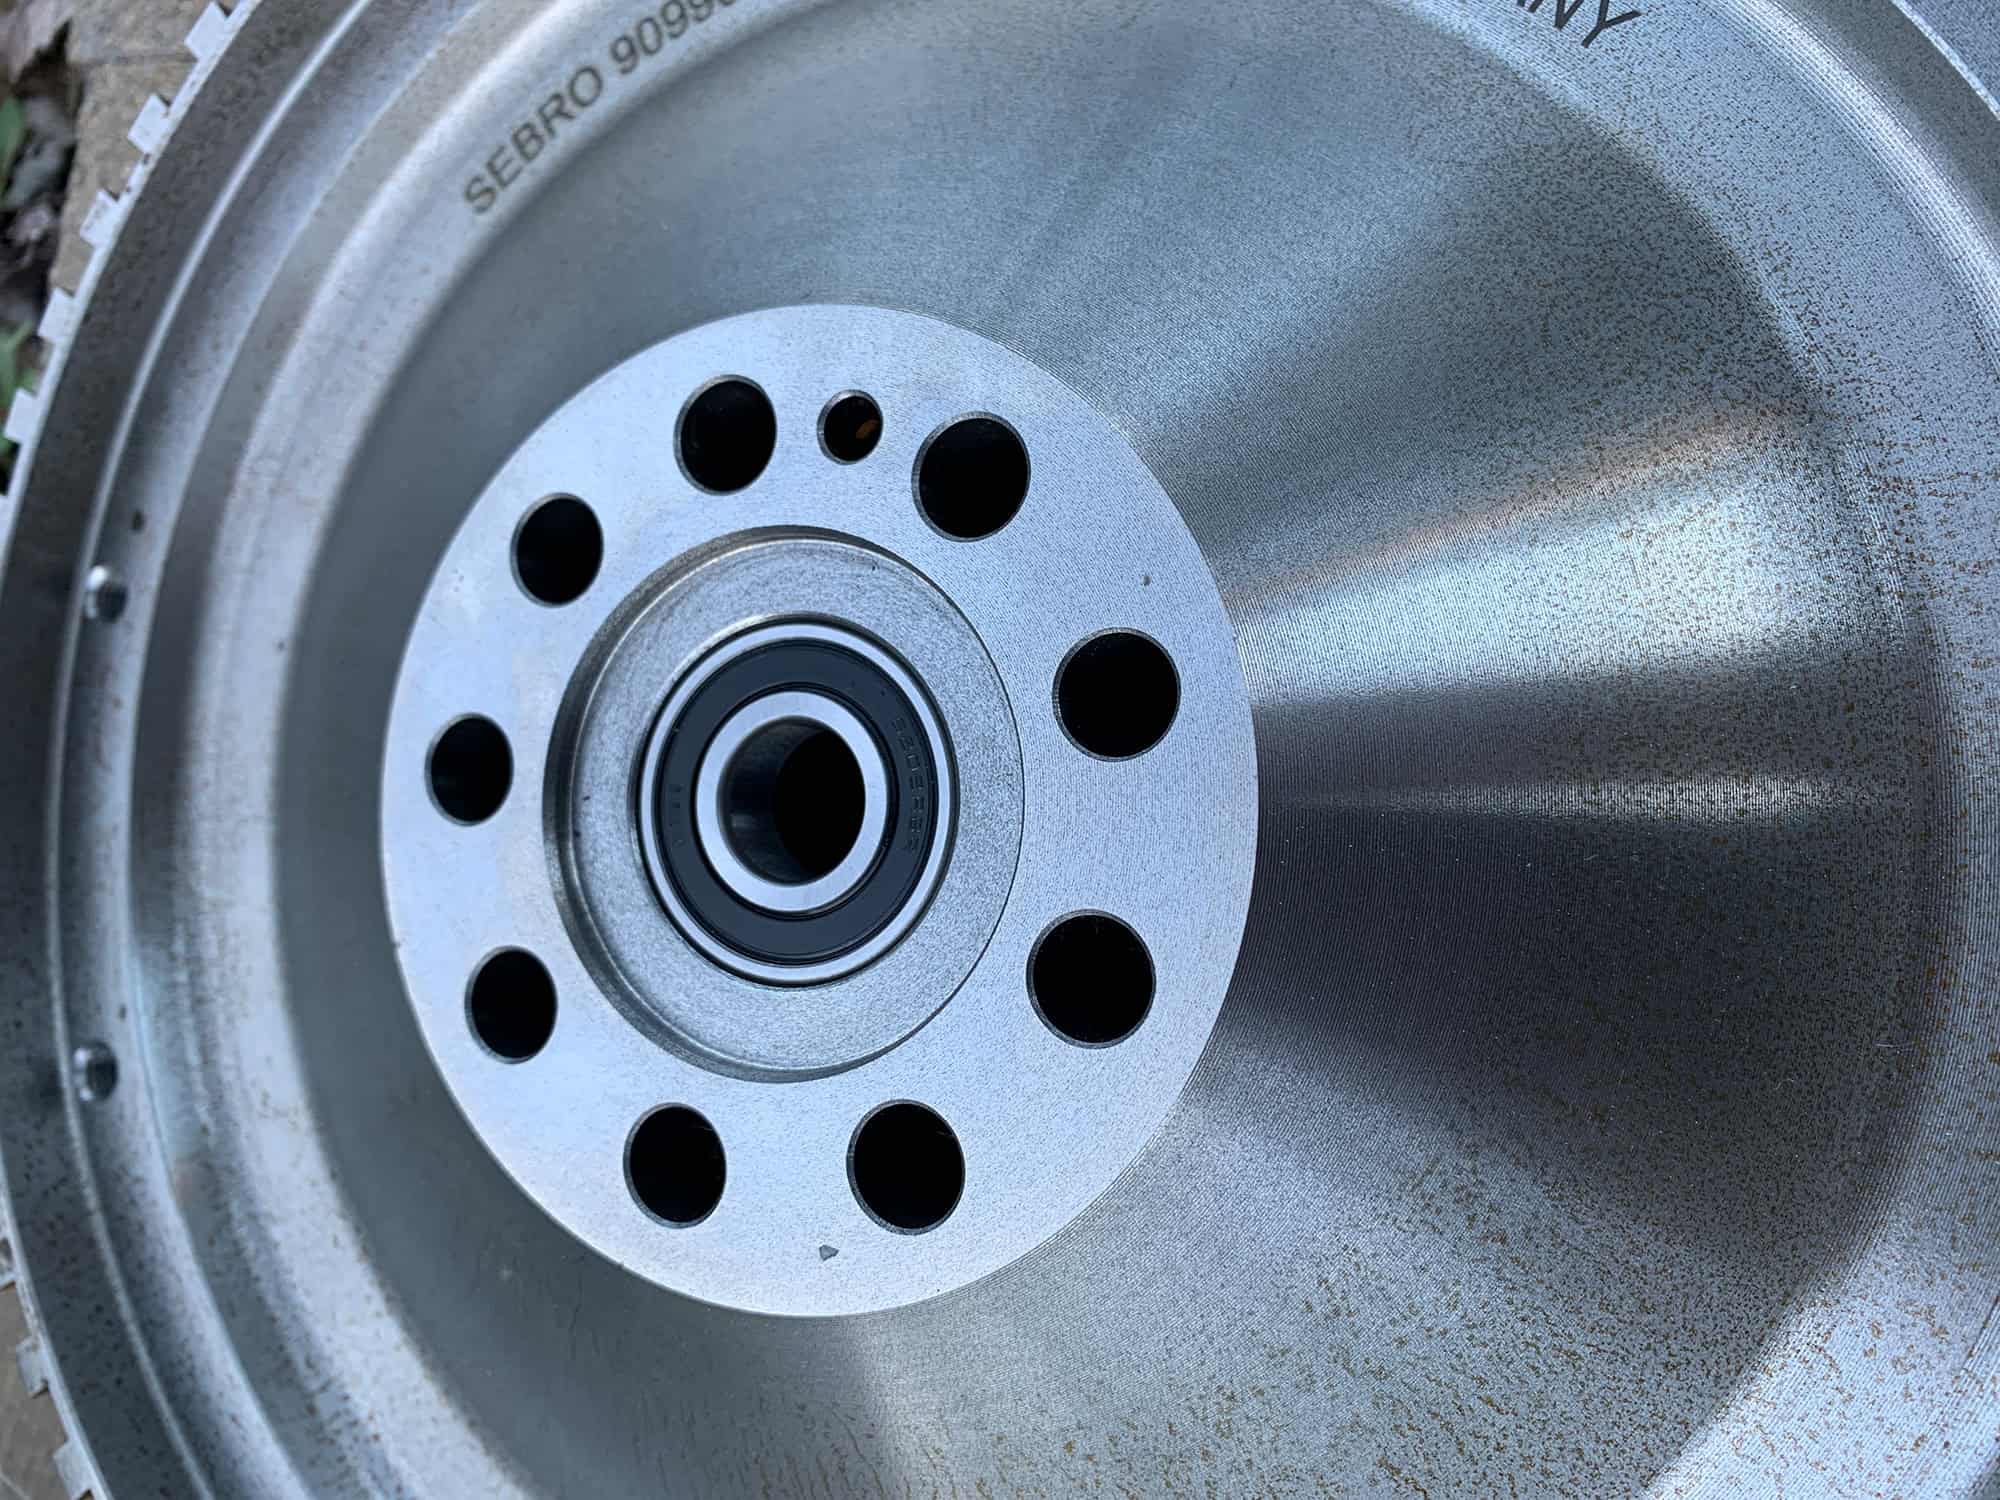
Figure 4: Looking at the pressure plate and throw out bearing, I found 1002 and 1203 markings which look like date codes.
If so, this would indicate a clutch job at around 2004-5. I didn’t get any records with the car so this fills in some maintenance gaps for me. I would guess I’ve put as many miles on this clutch as were on the original when it was replaced so all in all the clutch job was a good call.
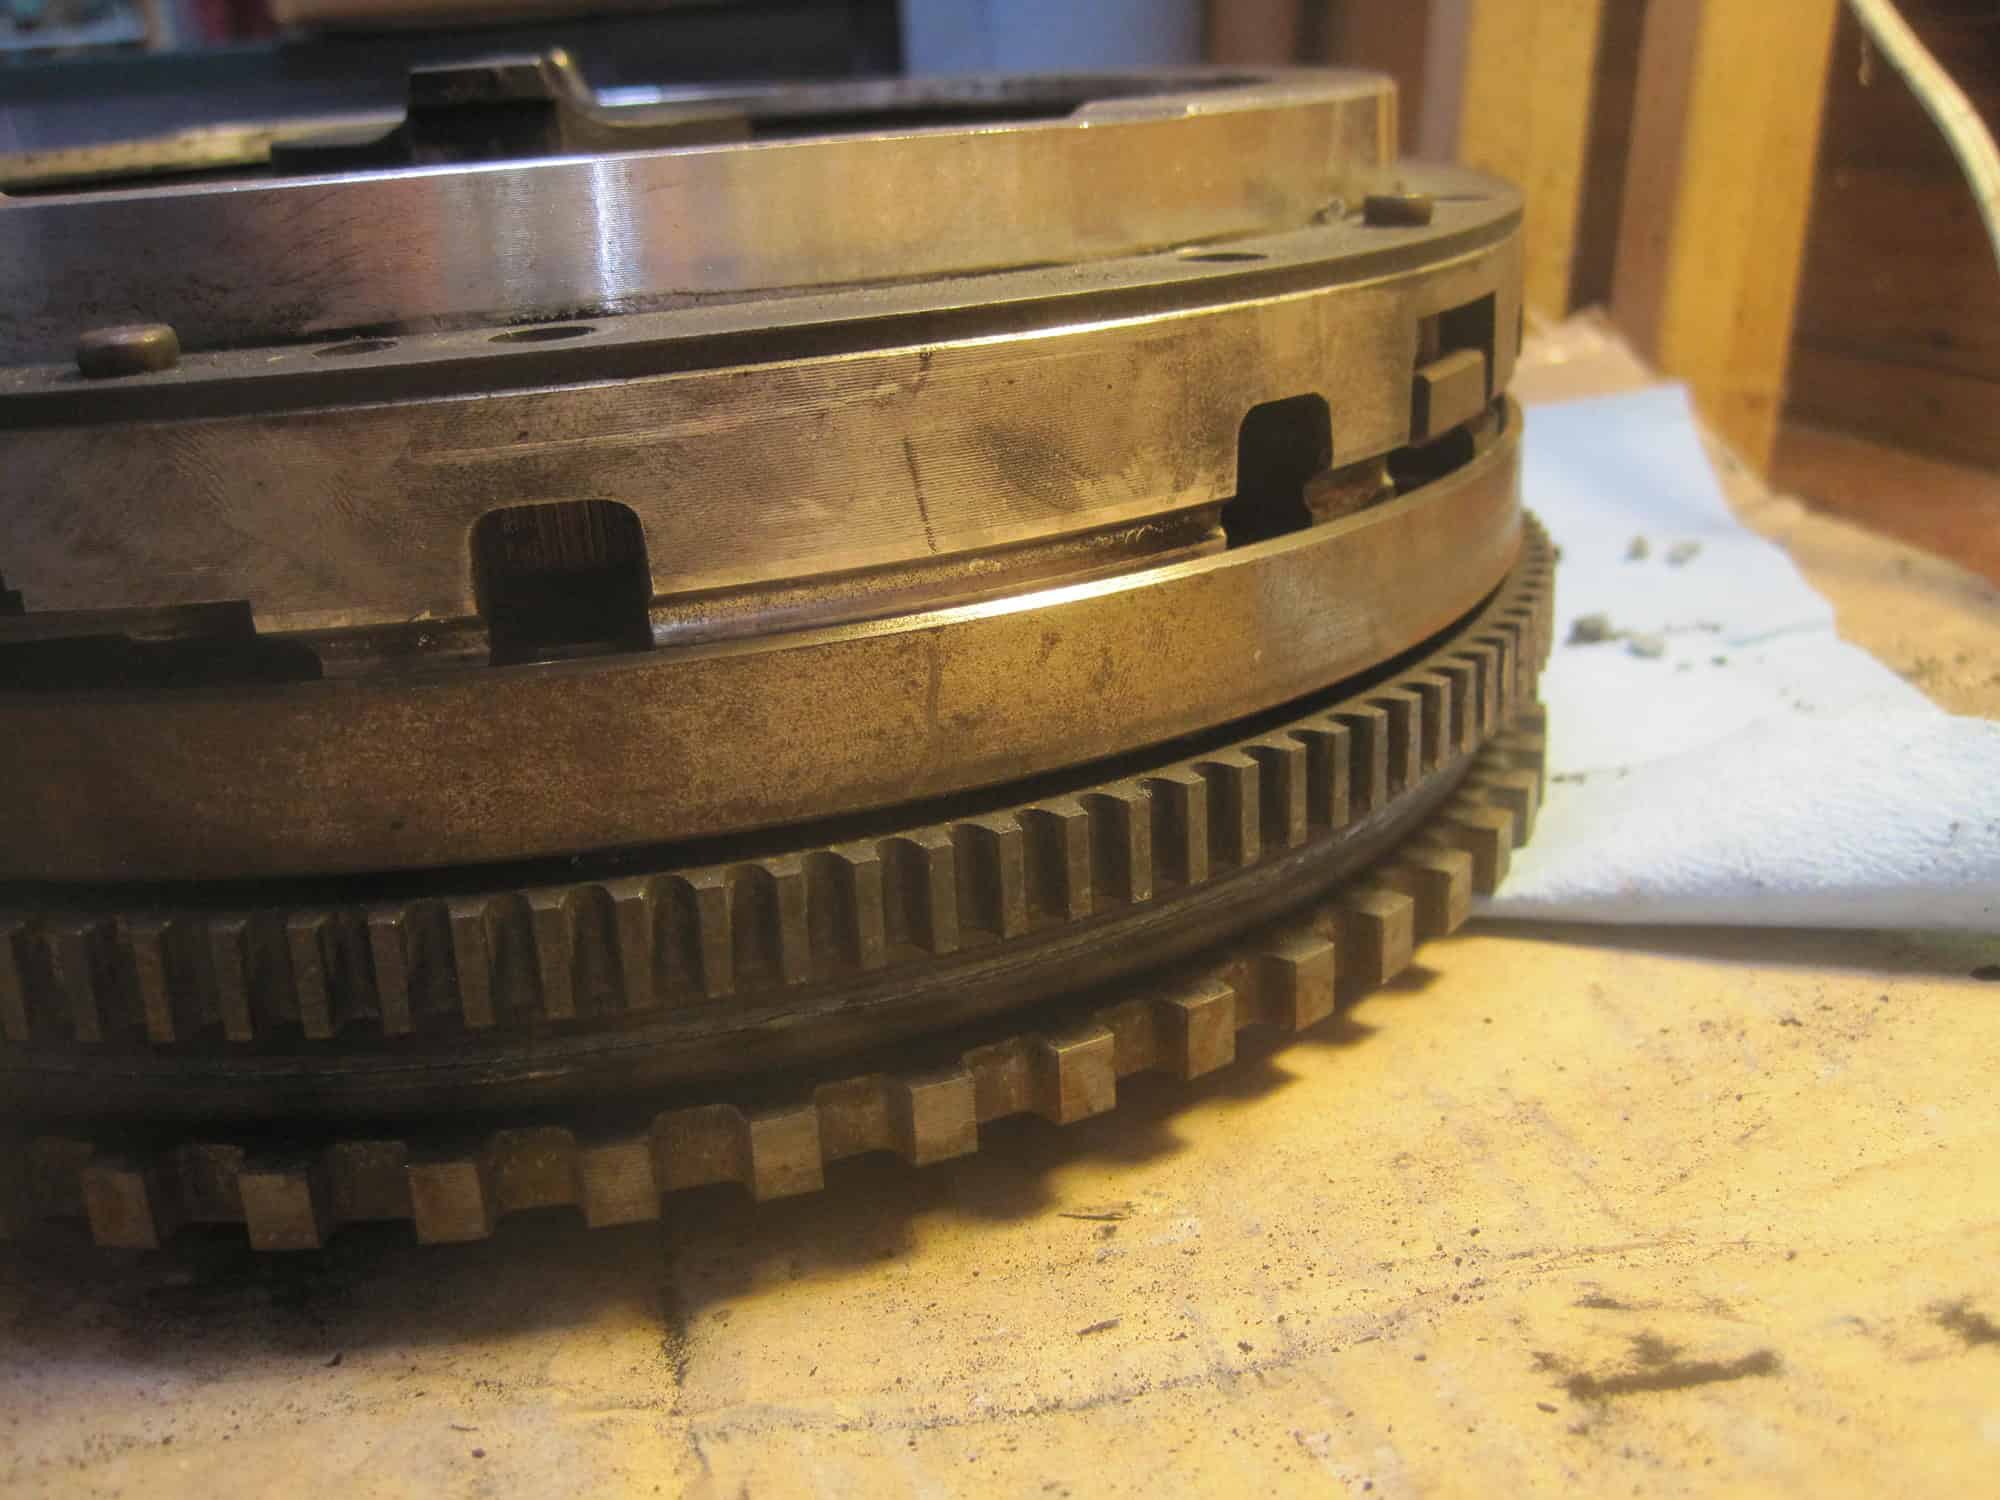
But back to the plot. Now I’m sensitized to balancing and therefore aligning the pressure plate and flywheel, I thought I’d look to see if there were any alignment marks on the old DMF. All I could see were what looked like 2 pencil marks which coincidentally aligned with the bolt hole pattern alignment between PP & FW. Not particularly obvious.
Is this all a conspiracy theory? Why do none of the manuals mention balancing the PP/FW or even alignment marks? Is this secret knowledge only passed from master to apprentice?
There were weights added to the FW which is keyed to the crank so it looks like the stock FW was at least balanced on its own.
It will be interesting to get the LWFW off my car and see the state of that. I will mark the alignment before I take off the PP so I can see if I goofed the first time.
I went back to photos I took of the job last year and found a few. Unfortunately, I didn’t document the new FW-PP in sufficient detail to capture all surfaces of the new LWFW. I won’t be able to tell for sure until it’s off the car.
There’s no signs of any balancing / metal addition or removal here. I will examine this more closely when it’s off.
Or here, on the other side of the flywheel.
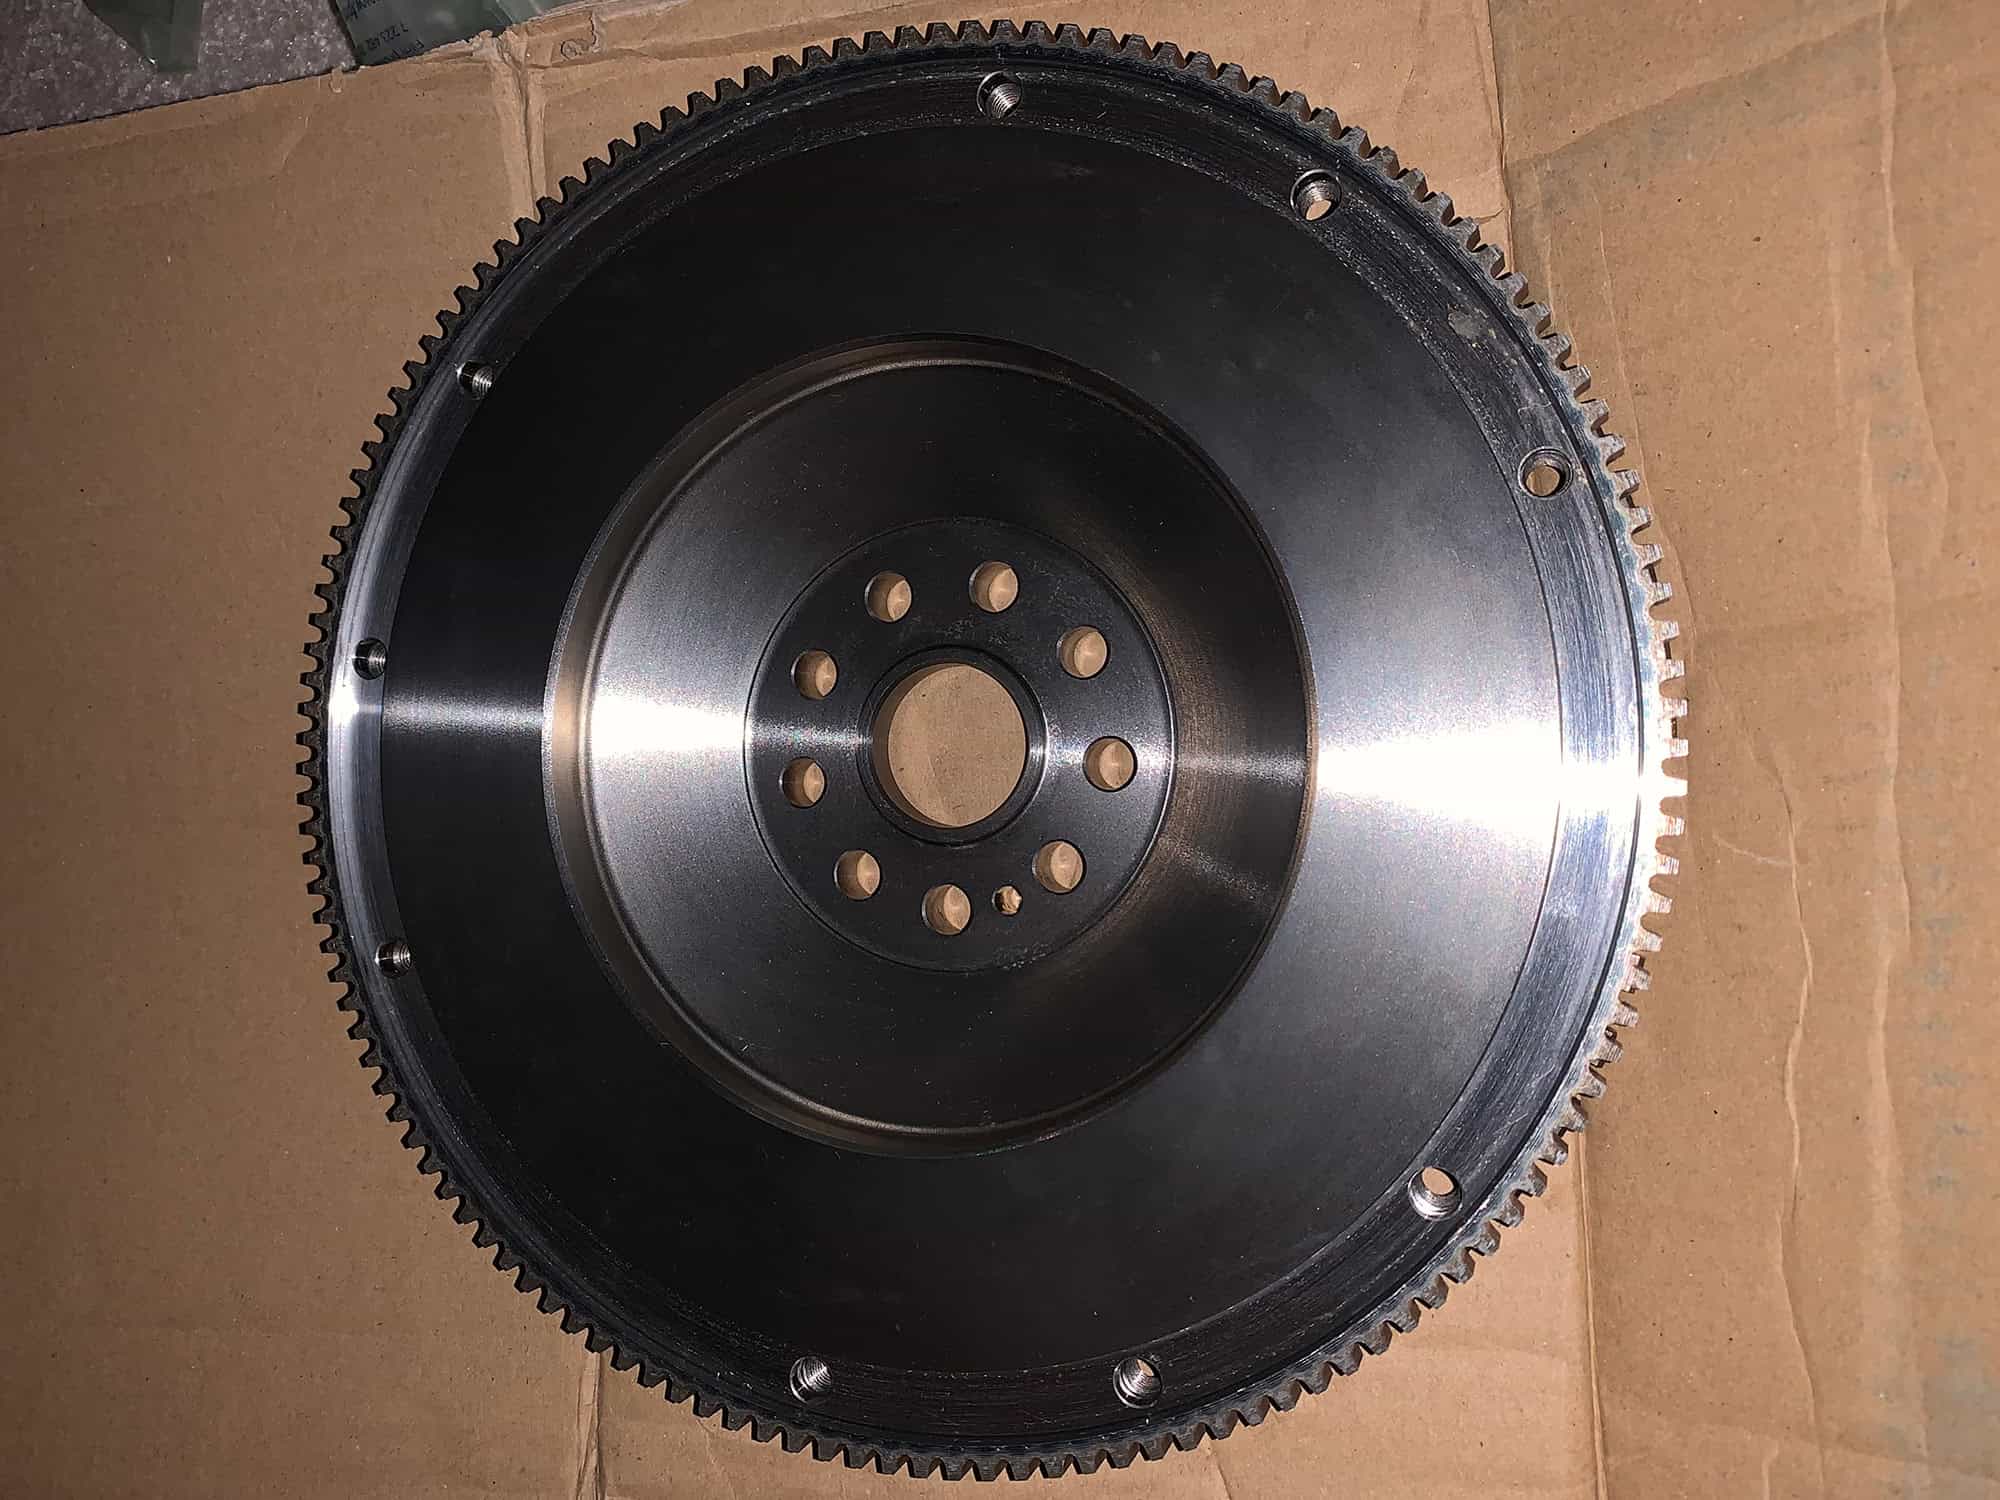
 To the left is the flywheel and pressure plate assembled on the engine and this angle shows the other edge of the pressure plate vs. the parts kit photo above. Not brilliant resolution but I can’t see any signs of welding or drilling. It’s a beautifully machined piece that’s been produced to tight tolerances, hard to believe it could be out of balance by any significant amount.
There is a white paint mark at 12 o’clock seen on the pressure plate rim below. Maybe that needs to be aligned with the dowel pin in the flywheel. I didn’t set the engine to TDC for assembly so I’m pretty sure it’s not aligned that way. I don’t see any instructions to this effect on Sachs or other websites.
It could be just an ID marking. Section 30 52 in the 993 workshop manual identifies various clutch pressure plates by a paint bar spanning 2 fingers of the pressure plate. You can see the blue marking on my old pressure plate above which is consistent with an early Carrera 2 like mine. Another inconclusive thread.
So that’s my research and planning prior to pulling the trigger on the job. Next, I need to try and find a local machine shop that’s done this kind of measurement and machining work before and see what their turnaround time is. Then I can decide on going back to DMF or just fix the LWFW and put it back on. It’ll be really interesting to see the before and after results of balancing the assembly. But that will be part 2.